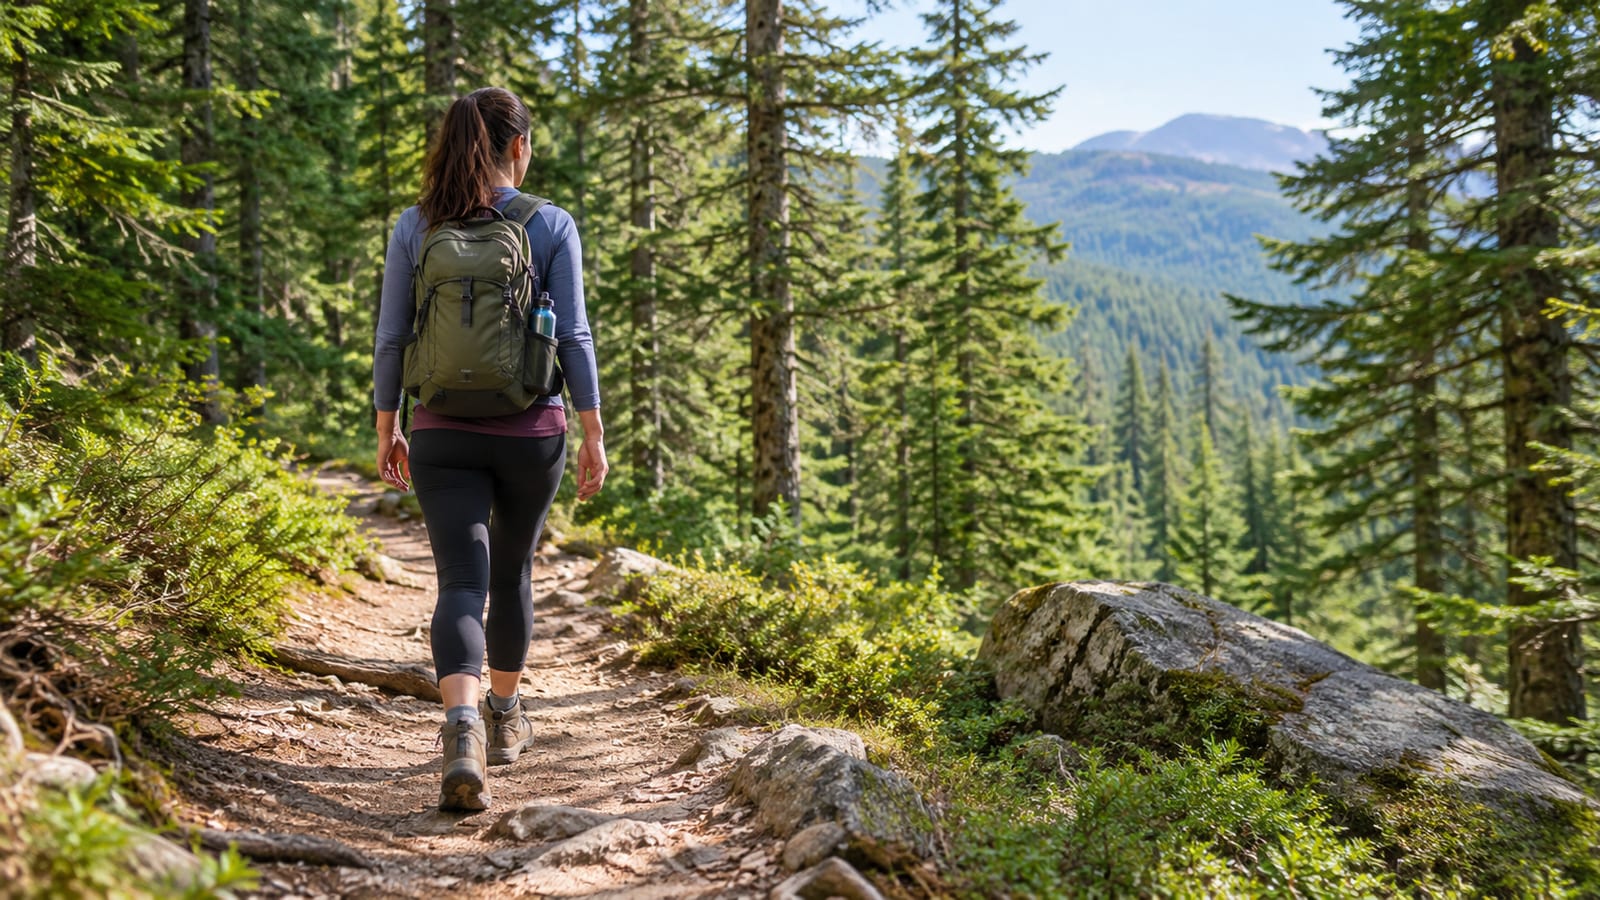
Most people pack for the view and forget the walk back. Here is what to bring on a day hike: more water than feels sensible, food you'll actually want to eat, a rain jacket and a warm layer, a map that works without signal, a small first aid kit, a headlamp, and a charged phone with a battery pack. Then pick shoes and clothes for the trail itself, with its mud, rock, sun, and wind.
The pack doesn't need to be big. Each item just has to answer one question: what if I get thirsty, lost, cold, wet, hurt, or stuck out after dark? Cover those six and you've covered most bad days on a trail.
What should you bring on a day hike every time?
The core kit barely changes between a forest loop and a mountain ridge. The National Park Service's Ten Essentials list sets out 10 items for trail and backcountry hiking. It makes a solid base for any day pack. Here is what I keep in mine, every time:
- Water, more than you plan to drink
- Salty snacks plus something closer to a meal
- An offline map on your phone, and a paper map for longer or remote trails
- A phone and a charged battery pack with its cable
- Sunscreen, sunglasses, and a hat
- A small first aid kit with blister patches, since blisters are what you'll use it for most
- A headlamp
- A warm layer and a waterproof jacket
- A knife or multi-tool, a lighter, and a whistle
- A foil emergency blanket, which folds smaller than a deck of cards
The headlamp is the item people skip most on short hikes. However, a sore ankle, a wrong turn, or a late start is all it takes to finish in the dark. Your phone's flashlight works, but it drains the battery you may need for a call.
Most of this weighs little and can stay in the pack between trips. So before each hike, you only top up water and food. If you travel with one bag, this kit packs down small. My notes on living out of a backpack cover how to make room for it.
Water, food, and electrolytes are where skimping hurts
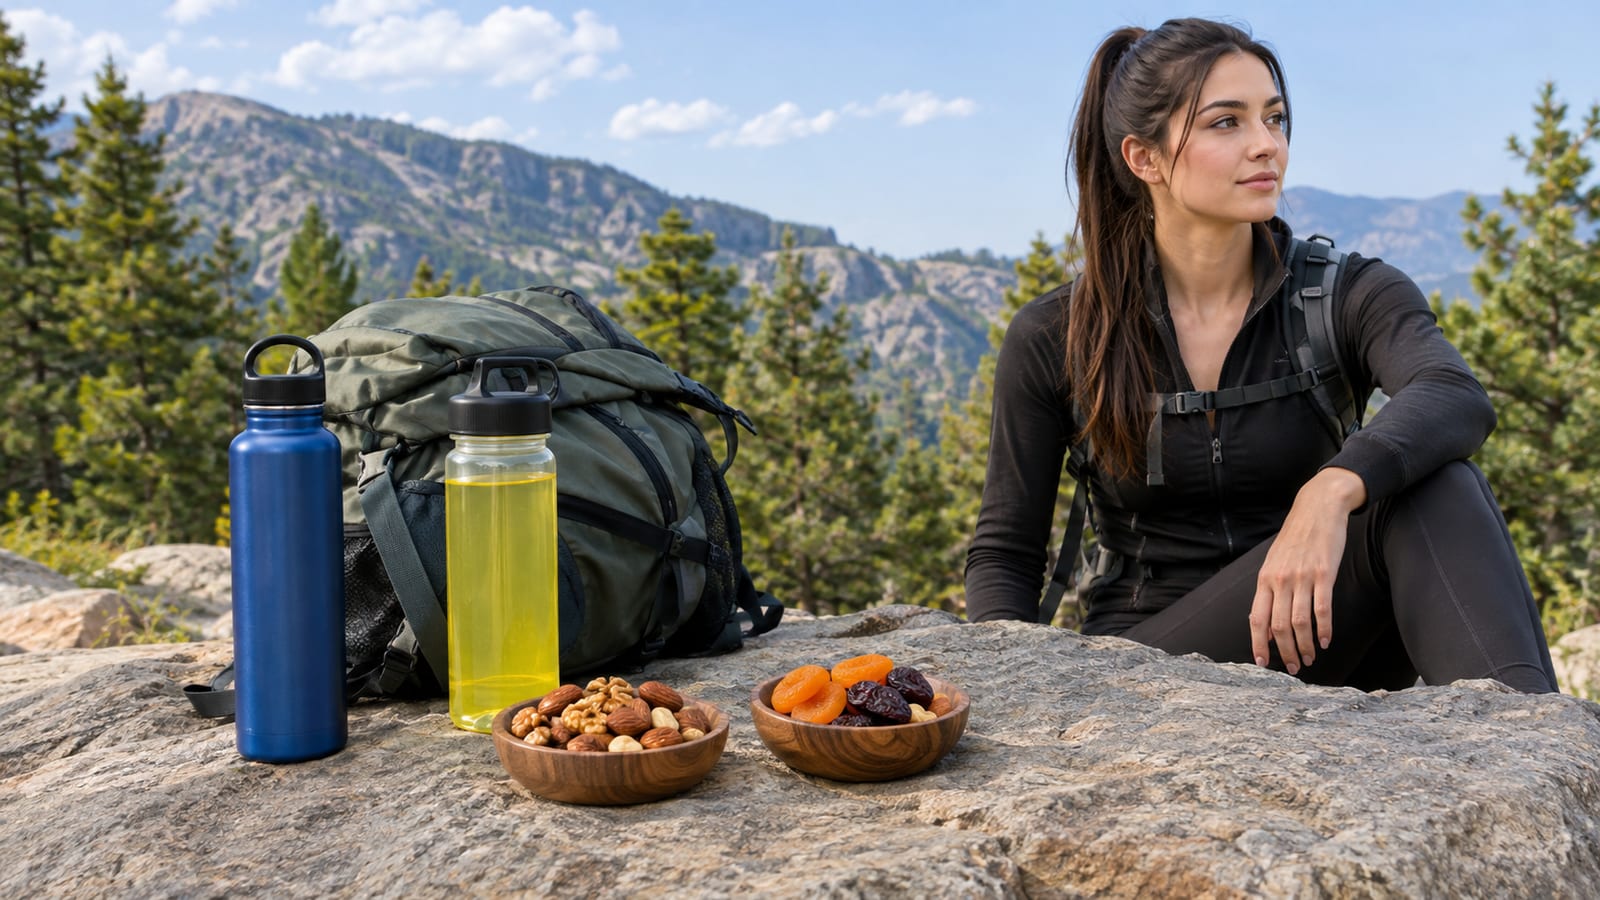
Water is the one item where guessing low costs you the most. Badlands National Park recommends two quarts per person per two-hour hike, and that surprises most people. Badlands is open, dry country with little shade. That number shows how fast water goes when sun and wind work on you.
Your trail may be cooler and greener. Still, here is what I do: fill every bottle at home, drink well at the trailhead, and keep some back for the walk out. If you're draining it faster than expected, that's your sign to turn around early.
Food matters just as much. The National Park Service (NPS) Ten Essentials list suggests an extra day's supply of food. It recommends no-cook, salty, easy-to-digest snacks like trail mix, nuts, and granola bars.
That advice is built for backcountry trips. For a day hike, the realistic version is your lunch plus one extra snack you only open if the day runs long.
Pack food you like. A bar you find chalky will ride around untouched while your energy fades. Salty food also goes down easier on a hot climb, and a sandwich at the top does more for your mood than another sugary bar.
On hot days, you sweat out salt as well as water. Plain water alone can leave you feeling flat or headachy. An electrolyte tablet or powder in one bottle is cheap insurance, and salty snacks help too.
Navigation and communication are your backup plan
Cell service is the first thing to go on a trail. It drops in valleys, behind ridges, and sometimes a short way past the parking lot. So download the map before you leave home, while you still have wifi.
Most hiking apps let you save a trail area for offline use. Test it by switching your phone to airplane mode and opening the map. Your phone's GPS (the satellite positioning that shows your dot on the map) still works without signal, but it can't load new map areas.
Next, tell one person your plan. Send them the trail name, where you're parking, and when you expect to be back. Then add the time they should call for help if they haven't heard from you. That's the part that actually gets help moving.
Phone battery is your lifeline, so treat it that way. Keep the screen dim, use airplane mode while you walk, and carry a charged battery pack and cable. Cold also drains batteries faster, so keep the phone in an inside pocket on chilly days.
For longer or remote trails, carry a paper map and know roughly how to read it. If you hike solo somewhere with no signal at all, a satellite messenger is worth it. It sends an SOS (an emergency alert) through satellites when your phone can't reach anything.
Which shoes fit which trail?
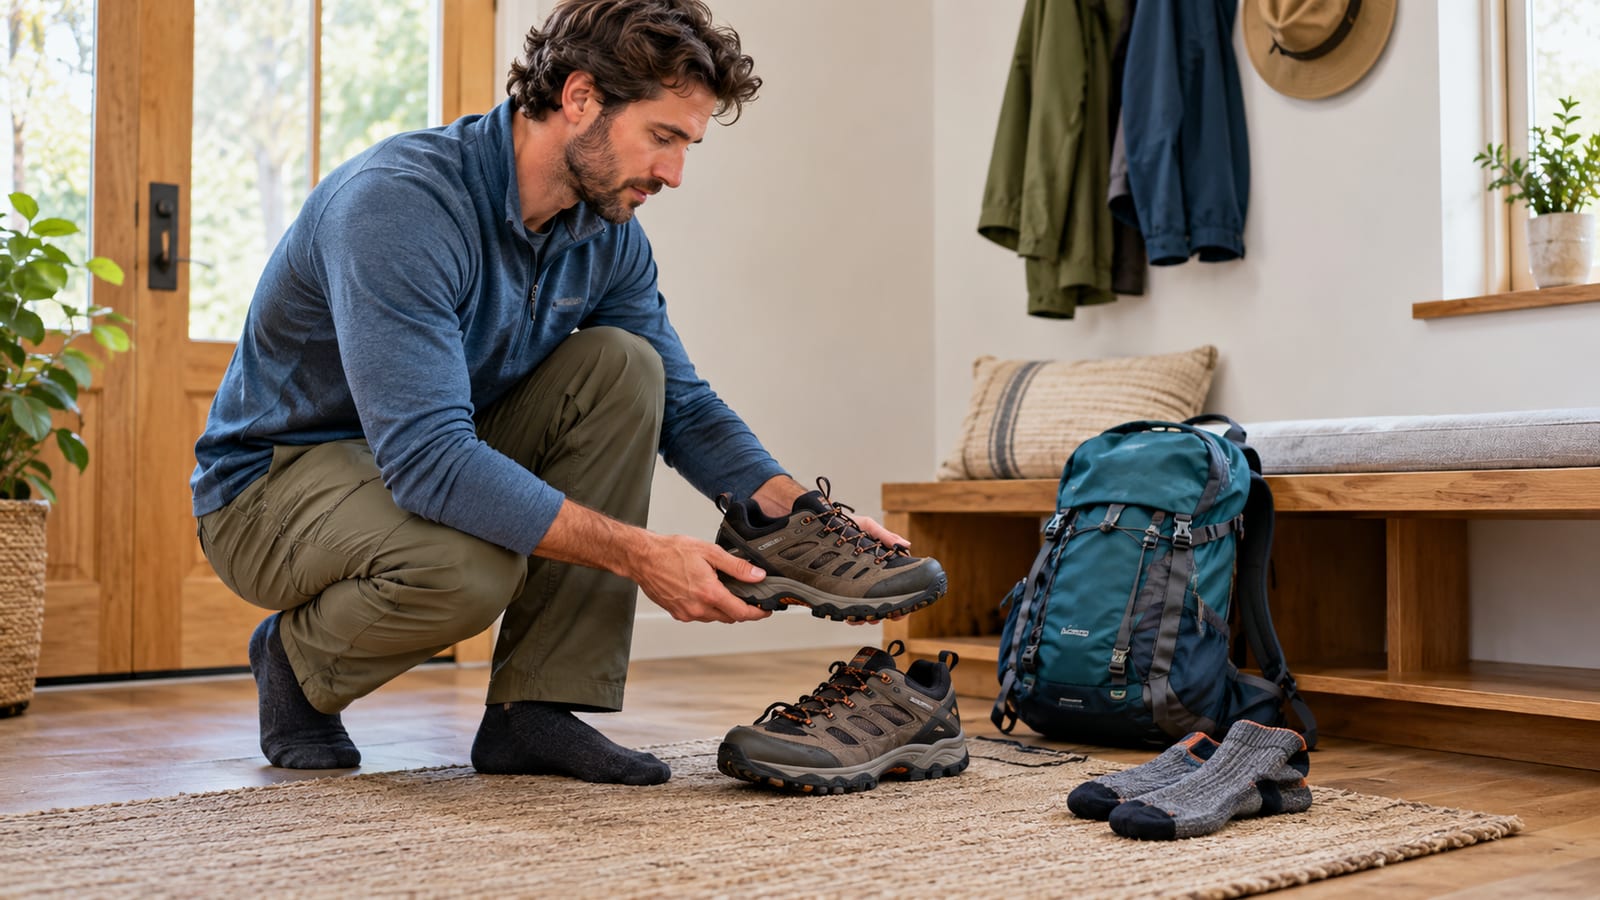
Choose shoes for the ground: how rocky, how wet, how steep, and how much you're carrying. For most day hikes, grip and fit matter more than ankle height. Here's how the three main types compare, and if you only own one pair, make it the middle row.
| Shoe type | Best for | Trade-off |
|---|---|---|
| Trail runners | Dry, well-built trails, light packs, warm weather | Less protection from sharp rock, wear out faster |
| Hiking shoes | Mixed terrain, rocky sections, most day hikes | A bit heavier and stiffer than runners |
| Hiking boots | Rough, loose, or wet ground, heavier packs, snow | Heavy, hot, and need breaking in |
Boots get sold as the safe choice. On a rough, rocky route with a heavier pack, they can be. On a smooth trail on a warm day, though, they mostly mean hot, tired feet.
If you've turned an ankle before, or the ground is loose scree (broken rock that slides underfoot), the extra support starts to earn its weight. That's the case for boots, and it's a narrower case than the marketing suggests.
Break in anything new before a long hike. Wear new boots around town and on short walks until they stop rubbing. Trail runners need less time, but a first long day in any new shoe is a gamble on blisters.
Socks decide more of the day than people expect. Wear snug wool or synthetic hiking socks, and skip cotton, which holds sweat against your skin and rubs.
Dress in layers for the weather you might actually get
Mountain weather can turn fast, and your body heat swings with it. You'll sweat on the climb and chill at the top when the wind hits. Layers let you adjust without long stops.
Start with a base layer that moves sweat off your skin, in synthetic fabric or merino wool. Add an insulating layer, like a light fleece or thin puffy jacket, that packs small. On top, carry your waterproof shell.
Cotton is a poor bet on a hike. It soaks up sweat, dries slowly, and stays cold and heavy once wet.
On a short, flat, warm walk, you'll get away with it. On a climb that ends somewhere windy, though, a damp cotton shirt is how a fun day turns into shivering.
For sun, a loose long-sleeved shirt in light fabric often beats sunscreen alone. It covers the spots you'd miss and doesn't sweat off. Add a brimmed hat and you've cut most of your exposure.
Do you need a rain jacket if the forecast is clear?
Yes. Pack a true waterproof shell on every hike, even when the forecast looks fine. Weather in hills and mountains can build in an afternoon. Being wet and cold is what turns a slow day into a dangerous one.
A windbreaker and a rain jacket are different tools. A windbreaker blocks wind and shrugs off light drizzle, but it soaks through in steady rain. A waterproof shell has sealed or taped seams and a hood that cinches around your face, so look for both before you buy.
My shell lives in the bottom of my daypack all year. Pack it for the weather you might get, not the forecast on your phone.
A jacket handles rain. It does nothing for lightning. If you hear thunder, get off ridges, peaks, and open ground, and head down.
The National Weather Service lightning safety guidance says to wait at least 30 minutes after you see lightning or hear thunder before heading back outside. On a trail there's no truly safe spot. So the better move is to watch the sky and turn back early when storms start building.
Is a top with built-in support enough?
For many hikes, yes. A hiking tank or top with a built-in bra cuts out a layer, dries fast, and means one less strap to adjust. It works best on warm days, moderate trails, and when light to medium support is enough for you.
It falls short in a few places. Steep, jolting descents and any running call for more support than most shelf bras give. If you need firmer support in general, a separate sports bra under a loose shirt will feel better by the end of the day.
Watch the straps, too. Thin tank straps sit right where pack straps rub, and bare shoulders burn fast.
On long or sunny days, wear the supportive top under a light sun shirt for comfort and coverage. Choose synthetic or merino fabric. Try it on with your loaded pack before the hike, since that's when rubbing shows up.
Leggings, shorts, and pockets should earn their place
Pick bottoms for the trail, the temperature, and your own skin. Leggings move with you, protect your legs from scratchy brush and bugs, and stop thigh chafing. On a hot, open trail, however, they can feel like wearing a wetsuit.
Shorts keep you cool and are fine on clear, wide paths. Through overgrown trails, they leave your legs open to scratches, nettles, and ticks. Zip-off hiking pants split the difference, if you don't mind the look.
Chafing is a small problem that grows over a long day. Longer shorts, a liner, or leggings help. A bit of anti-chafe balm on the inner thighs before you start beats anything you try once it already stings.
Pockets are great until you overload them. A thigh pocket for your phone is handy for quick photos and map checks. Still, keys, a phone, and snacks in loose pockets will bounce, pull, and slip out when you sit.
Keep one zippered pocket just for your car key. Losing it on the trail turns a good day into a long, expensive wait in the parking lot.
Pack for sun, bugs, and small trail problems
Most bad hike moments are small and preventable. A burn, a blister, or a bite won't end your day alone, but together they make the walk out miserable.
For sun, bring a brimmed hat, sunglasses, and sunscreen. Put sunscreen on before you start and again after a sweaty climb. The back of your neck and your ears burn first and get missed most.
For bugs, use repellent on skin or clothes in tick and mosquito country. After the hike, check your legs, waist, and hairline for ticks. It takes moments in the car and saves a lot of worry.
For blisters, stop the second you feel a hot spot. Put tape or a blister patch on it right then. Pushing on to the next rest stop is the most common mistake on the trail.
Toilet and repair kits
The trailhead toilet is often the last one you'll see, so carry a small toilet kit:
- Toilet paper or tissues
- A zip bag to pack used paper out
- Hand sanitizer
- A small trowel for trails with no toilets
Many parks ask you to pack out used toilet paper, so check the rules for your trail. A tiny repair kit covers the rest. Wrap some duct tape around a water bottle, then add a few safety pins, a spare hair tie, and a couple of zip ties. That's enough to fix a torn strap or broken buckle well enough to get you home.
Your first day hike: keep it short and planned
A short hike still deserves real preparation. The list of what to bring on a day hike doesn't shrink because the trail looks easy. People get into trouble on gentle trails because they left the basics in the car.
For your first one, pick a popular, well-marked trail with a clear parking area. Choose shorter than you think you can do, and check the elevation gain (how much you climb) as well as the distance. A short trail that climbs hard can take longer than a long, flat one.
These short hikes in Grand Teton National Park are a good model of what a first hike can look like. Keep the first-trip checklist short enough to tick off standing at the car:
- Water and salty snacks
- Offline map downloaded
- Phone charged and battery pack packed
- Rain jacket and a warm layer
- Sunscreen and hat
- Small first aid kit and headlamp
- Shoes you've already walked in
Set a turnaround time before you start, and keep it. When you hit that time, you head back, even if the top looks close. Summit fever, the pull to keep going because you've come so far, is real. The walk down also takes more out of tired legs than you expect.
If you're traveling and want a gentler start, try flat, quiet walks like these peaceful nature walks in San Juan. They let you test your shoes and pack with no rush. Trust yourself to build up from there.
Adjust your pack for heat, rain, cold, and changing conditions
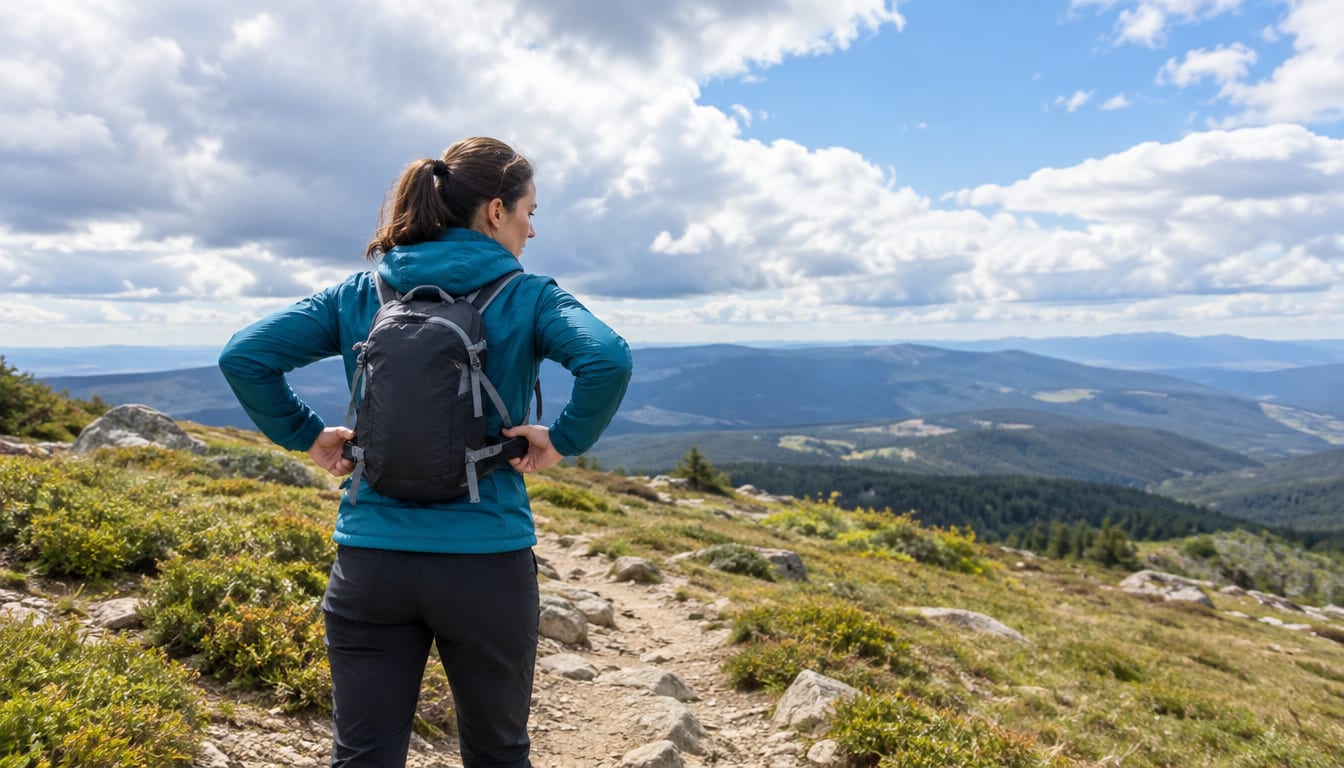
The core kit stays the same. The extras change with the weather.
Heat. Carry extra water and an electrolyte mix, and wear a loose sun shirt and a brimmed hat. Start in the morning light, before the trail heats up, and rest in shade whenever you find it. If you feel dizzy or sick, or you stop sweating, stop, cool down, and head back.
Rain. Line your pack with a dry bag or a plain trash bag, because most packs aren't waterproof. Put your phone in a zip bag and pack spare socks. When it rains, roots and flat rock get slippery, so shoes with good grip matter more.
Cold. Add a warmer insulating layer, a hat, gloves, and a thermos of something hot. Daylight is shorter, so the headlamp matters more. Keep your phone and battery pack close to your body.
Changing conditions. If clouds pile up, the wind rises, or you hear thunder, turn around early. The trail will still be there next week.
Do a quick check before you leave the trailhead
Before you lock the car, run through this:
- Open the offline map in airplane mode and make sure it loads.
- Check that every bottle is full.
- Look at the weather one more time, especially for afternoon storms.
- Retie your laces and smooth out your socks.
- Message your contact: trail, parking spot, return time, and call-for-help time.
- Check the park or land agency website for trail closures or warnings.
- Zip the car key into its pocket.
Most of these take seconds. The closure check gets skipped most, and it's the one that saves you from a washed-out bridge far up the trail.
Your first step today: pick a trail and download its offline map tonight. Everything else on this page falls into place once you know exactly where you're going.
FAQ
Do I need trekking poles for a day hike?
Not for most. Poles earn their place on steep descents, loose ground, and stream crossings, where they take strain off your knees and steady your balance. On flat or gentle trails they mostly keep your hands busy, so leave them home until a route gives you a reason.
What size backpack works for a day hike?
Smaller than most shops will steer you toward. It should hold your water, food, warm layer, and shell without stuffing. Padded shoulder straps and a chest or hip strap stop it swinging when you scramble. Load it with some weight before you buy, because every empty pack feels comfortable in the store.
Is it safe to day hike alone?
Yes, and plenty of people do it every weekend. Start on busier trails where other hikers pass now and then. Head out early so you have daylight to spare, and pick routes well inside what your legs already know. Going solo also means nobody talks you out of turning back when something feels off.
Should I bring a water filter?
Only if your route passes streams or lakes and you might run low. A small squeeze filter or purification tablets let you refill safely. Don't drink straight from a stream however clear it looks, since clean-looking water can still carry germs that make you sick. On dry routes with no water sources, skip the filter and carry every drop from the car.